I have been waiting several months to start off this fresh series of articles documenting my new precision rifle project, and now that I have the heart of the new rifle, I can reveal the project details.
Right at the end of 2016, I made the decision to build a new precision bolt rifle using a custom action, meaning an action that is not a mass produced commodity receiver (e.g. Remington 700, Savage 10/110). The choice to build on a custom action has some inherent benefits. The primary reason to do so is for the quality control. Custom actions are low volume produced receivers and will have better machining and higher scrutiny by the manufacturer. A custom action will have different designs on specific aspects of the receiver such as an integrated recoil lug, extractor, bolt stop, and the bolt handle among other things.
When looking for a custom action, I was targeting one with a Remington 700 footprint. This means the action/receiver should fit in any stock that is (or can be) inletted for a Remington 700 action, with little to no modifications. A Remington 700 footprint custom action will most likely work with any aftermarket trigger made for a Remington 700 action. In other words, a custom action with a Remington 700 footprint should give me a plethora of parts to choose from.
In the past few years, the two big names when it comes to custom bolt action receivers are Defiance Machine and Surgeon Rifles. Surgeon has been around for over a decade, but quickly became a recognized name in tactical bolt rifles. Defiance Machine is a bit younger than Surgeon Rifles, but their Deviant actions are seen often in precision rifle competitions as well as F-Class.
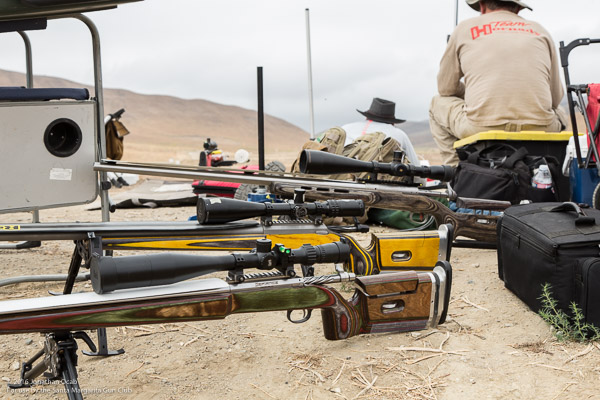
For a long time, I coveted a Surgeon 591 repeater, and my initial intent was to build my next bolt rifle on one.
But while at the 2017 SHOT Show, I visited the American Rifle Company booth to check out their new AICS style magazines. While I had vaguely heard of ARC, I did not know too much about their Mausingfield action. I spoke with the owner, Theodore Karagias, and he explained the Mausingfield and I was very intrigued by it.
After SHOT Show, I did further research on the Mausingfield and recognized the positive qualities of the Mausingfield action, and it became a strong candidate for my next rifle project, even with the MSRP of $1600 USD (which is higher than a Surgeon 591 or a Defiance Deviant).
Incidentally, a few weeks after the 2017 SHOT Show, there was a reddit post in the subreddit /r/longrange about a group buy for Mausingfield actions. Now some if you might be thinking, “It’s a trap!” considering it is some random person on the Internet. But I reached out to the reddit poster and was told to contact a gentleman on Facebook. I reached out to the organizer on Facebook and he turned out to be a legitimate precision rifle competitor with prior dealings with the American Rifle Company.
After getting more information and details, the organizer was able to secure a discount on Mausingfield actions via a group buy coordinated with many other folks who wanted to participate. With a $300 cash deposit in late February 2017, I secured a Mausingfield short action with a .474″ bolt face and a 20MOA base at a noteworthy discount.
I will want to publish the final cost of the action because I do not want to hinder business for American Rifle Company and give people the expectation that they can get a discount. In all future discussion of the financial outlay for the project, I will cite $1600 as the cost of the action.
After I provided my deposit, I started planning out the rest of the rifle. The action/receiver may be the heart of the rifle, but the barrel is definitely the second most vital part of the platform. Of course, the quality of the barrel itself is critical, but the cartridge chambering chosen will give this rifle its identity.
Before I rebarreled my Savage 10FP from .308 Winchester to 6.5mm Creedmoor, I was pondering a lot of 6.5mm variants including .260 Remington and 6.5×47 Lapua. I committed to 6.5mm Creedmoor after Lapua announced their intention to product brass in 6.5mm Creedmoor. With the availability of Lapua brass, I thought I would commit to 6.5mm Creedmoor for this rifle project as well.
But given that I like to try new cartridges, I decided to start looking into 6mm variants. I had a rifle built in 2009 in 6mmBR and I love the low recoil signature. While barrel life is shorter with .243/6mm cartridges (particularly when shooting fast and heavy bullets), the cost of bullets is lower which helps offset costs of barrel replacement. Given that 6.5mm Creedmoor is now the cartridge to shoot in precision bolt rifle and that I already have a Savage chambered for it, I thought, “Why not try 6mm Creedmoor?”
All I would need to is continue to buy or acquire 6.5mm Creedmoor brass, and neck them down as needed.
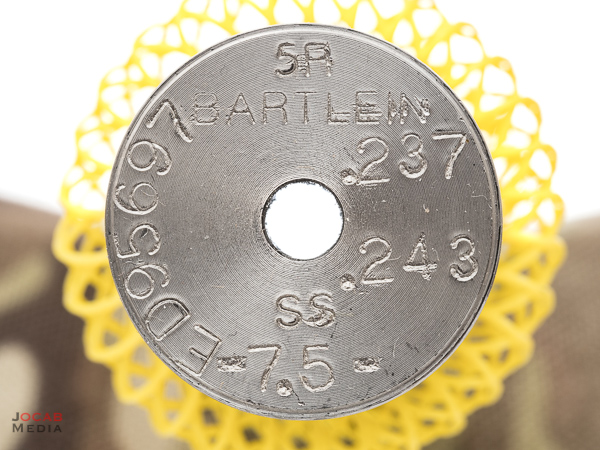
So I ended up ordering a Bartlein stainless steel 29″ 5R barrel blank in 6mm (.237″ bore) with a 1:7.5″ twist in a Remington Varmint contour from Southern Precision Rifles (aka bugholes.com).
After that, I started pondering the stock or chassis. I was debating getting a Manners Composite Stock. Manners has become the new hotness in recent years. Most people know McMillan Stocks (and my Savage sits in a McMillan A-5), but a lot of the “in the know” shooters are using Manners. I honestly don’t think there is a fundamental advantage either way, but I was thinking about Manners Stocks simply to try something new.
But then I discovered Masterpiece Arms (MPA) and their MPA BA Competition Chassis. I read up on the MPA chassis and watched videos, and saw how they were constantly evolving their chassis to incorporate a lot of new features that were found desirable in Precision Rifle Series (PRS) style events. These features include such modifications as an adjustable barricade stop and large magazine well cut-outs.
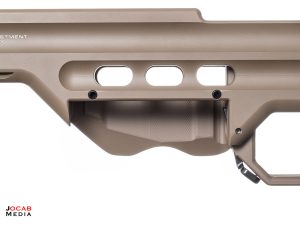
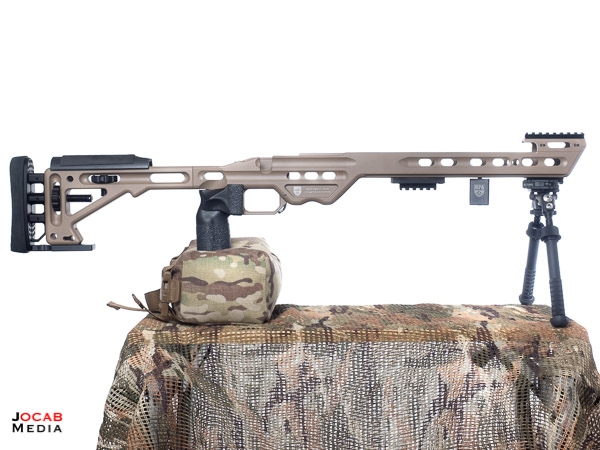
Given MPA’s commitment to continuous product improvement, I put in an order for the MPA BA Competition Chassis in Flat Dark Earth. I discussed the MPA BA Competition Chassis in detail in a prior blog post previewing the chassis system.
As a few months passed by, I still sat on only two parts: the barrel blank and the chassis. The action was still in the queue for production.
Then finally in August, the organizer of the group buy notified us that our actions were being produced and to expect an invoice from American Rifle Company to finalize payment.
This is when I realized I need to kick the project into high gear as far as parts to finish everything off.
The trigger was the next important piece. While I have been using a TriggerTech Remington 700 on my Remington 700 AICS for over a year, I felt like going back to a 2-stage. I have always preferred a 2-stage, and while the TriggerTech is a exceptional single stage, I like the ability to prep my trigger pull on target with that light predictable second stage pull to induce the actual shot. My 6mmBR Eliseo R5 uses a CG Jackson 2-stage, but this is not ideal for the type of rifle I am building. My CG Jackson is tuned to just over 1.1lb trigger pull and does not have a safety, which is perfect for High Power Rifle “Across the Course” competitions, but not for field use.
While most people gravitate to Timney Triggers because they are the most well-known name in Remington 700 aftermarket triggers, I ended up buying a Huber Concepts 2-stage trigger. I know a lot of people swear by Timney, but the few triggers I have dry fired were not all that impressive, and had some discernible creep. I have a very sensitive trigger finger due to my many years of shooting High Power Service Rifle with a Geissele Hi-Speed National Match Service Rifle trigger, and any sort of trigger creep is noticeable by me. Of course, I have not tried the newer Timney Calvin Elite 2-Stage triggers, and maybe those are better than their single stage counterparts.
But after reading up on Huber Concepts, I decided to take a risk on it (just like I risked on the TriggerTech). Each Huber Concepts trigger is made to order (3-4 week lead time) based on the customer pull weight specifications. I requested 2 stage trigger with a 1-lb first stage and a 1-lb second stage, for a total pull weight of two (2) pounds.
As I write this, I am still waiting for the Huber Concepts 2-stage trigger to be built and shipped.
One item I was not sure about was a muzzle brake. Muzzle brake on a 6mm cartridge? Yes.
It is not about pain of recoil, but more about mitigating any movement in the sight picture. While a 6.5mm Creedmoor is one of the easiest centerfire cartridges to handle in terms of recoil, I will still get taken off target in the recoil process, especially when dialed at a high magnification. In building this project, I wanted to minimize recoil as much as possible in order to maintain sight picture throughout the duration of the shot, even from non-prone positions.
I actually do not run a muzzle brake on any of my guns except my 16″ AR-15 (BCM GUNFIGHTER MOD 0). One of the reasons why I never ventured into muzzle brakes in a bolt rifle is because F-Class does not permit muzzle brakes.
While I am not trying to seriously compete in F-Class with my rifles, I use the F-Class venue available to me because it is a great way to shoot at distance (e.g. 600 or 1000 yards) and get good zeroes, test loads, and practice wind reading. I looked into some self-timed muzzle brakes like the American Precision Arms Lil Bastard Gen II brake, but read about runout issues with the APA Lil Bastard. Then I came across Area 419 and their HELLFIRE self-timing brake.
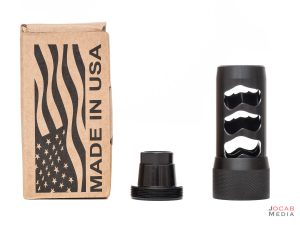
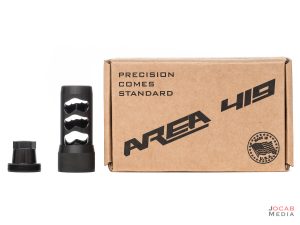
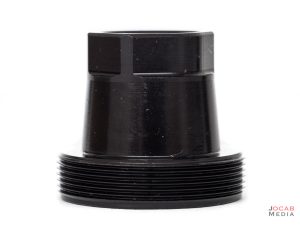
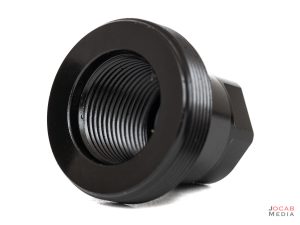
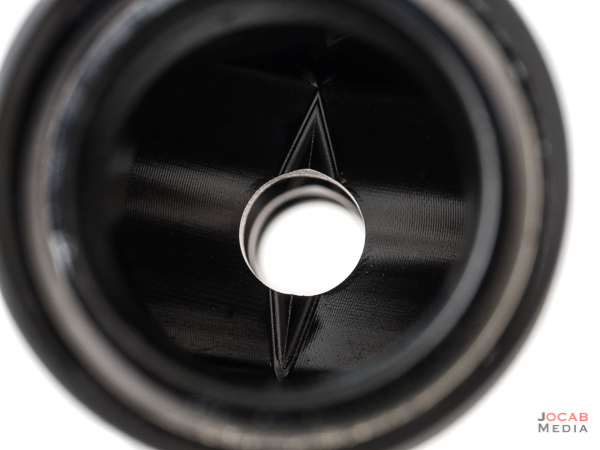
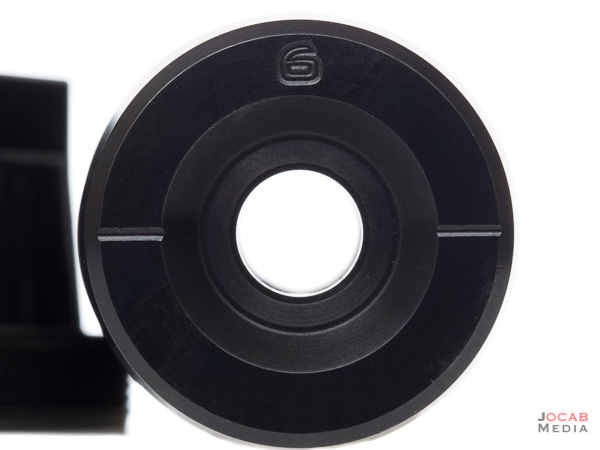
The Area 419 HELLFIRE uses an adapter which threads onto the muzzle (e.g. 5/8-24). Then the HELLFIRE brake is then attached to the adapter and adjusted accordingly. You can remove the HELLFIRE brake, and leave the adapter on as a quasi thread protector for the barrel’s muzzle threads. Of course, there is also a thread protector for the threads of the HELLFIRE adapter, all of which can be attached when firing.
I watched a video of the Area 419 HELLFIRE brake and the owner, Jon Addis, explained how he designed the HELLFIRE and showed the minimal runout with the HELLFIRE. I reached out to Area 419 and Jon Addis emphasized the tapered design of the HELLFIRE adapter in minimizing the effective runout of the brake when installed.
This resulted in me placing an order for the Area 419 HELLFIRE self-timed brake.
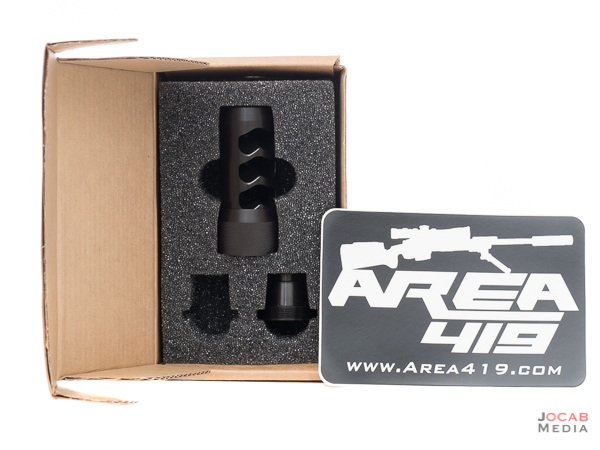
I ordered a HELLFIRE ST for a 6mm bore and 5/8-24 thread.
The ordering of the Huber Concepts trigger and Area 419 HELLFIRE brake took place while I was paying off the invoice with American Rifle Company for the Mausingfield action.
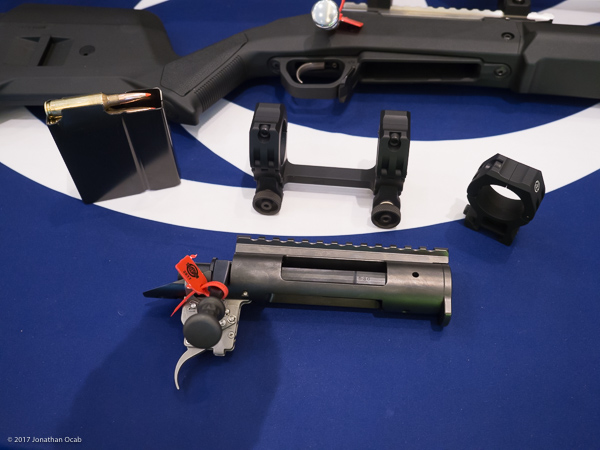
The Mausingfield action was transferred to me by way of JPro Arms, Inc. of Riverside and after that California 10-day wait (ten 24-hour periods), I finally had the ARC Mausingfield short action in hand.
Just over six months elapsed from the day of my initial deposit (February 22) to they day I picked it up from my FFL (September 5).
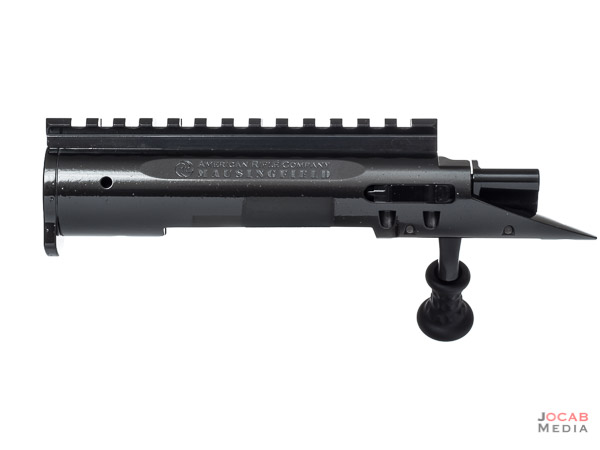
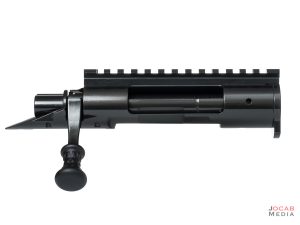
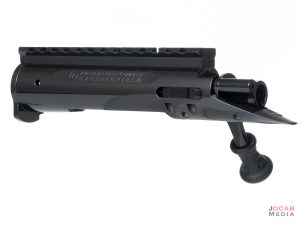
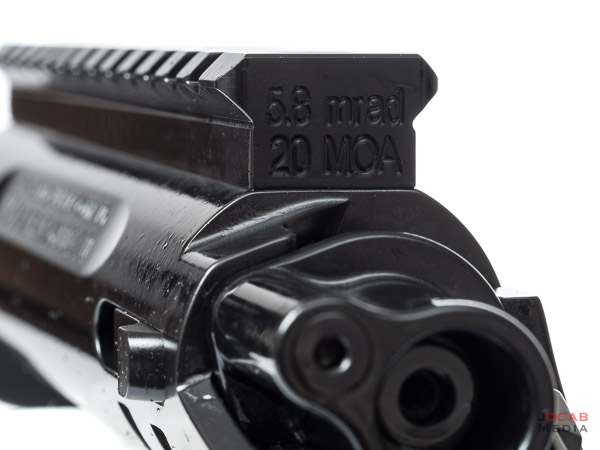
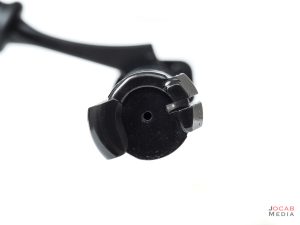
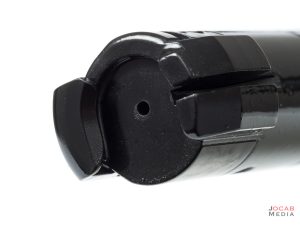
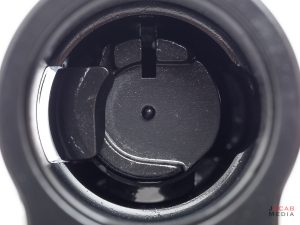
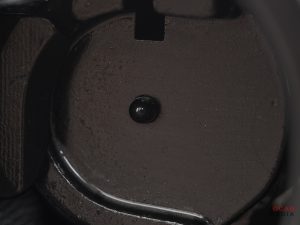
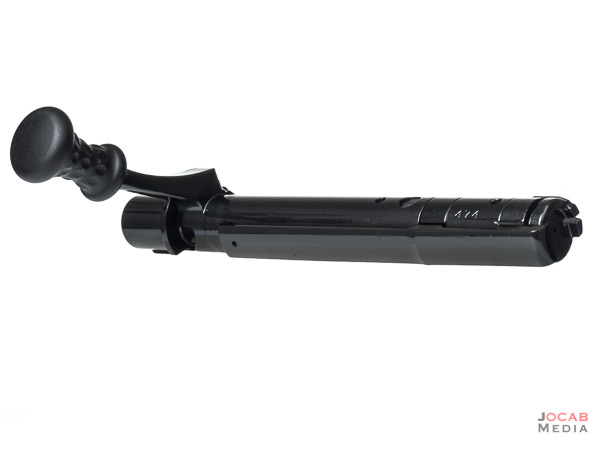
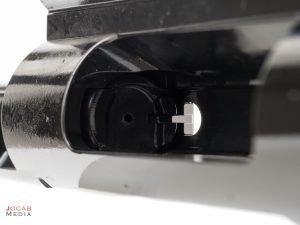
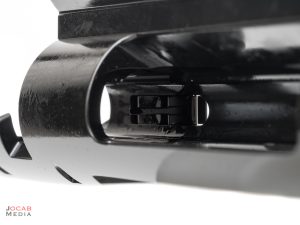
Note: The surface finish of the ARC Mausingfield in the following photos may look weird. It is because it is covered in oil and I did not clean any of it off for the purposes of the photos. Also, any lint or debris that happened to land on the receiver is further amplified by the oils and visible due to the resolution provided by the macro lens used to take the images (Olympus M.Zuiko ED 60mm f/2.8 Macro).
The Mausingfield action I received has a DLC and black Nitride finish. Prior to 2017, the Mausingfield was sold in the white (unfinished). When I was talking with Theodore Karagias of ARC at the 2017 SHOT Show, he indicated that they would be shipping Mausingfield actions from that point on in black nitrided DLC. This was after ARC investigated various options for coatings that would not compromise the integrity of the steel.
DLC (diamond-like carbon) coatings or surface treatments promote high surface hardness, low friction, and high corrosion resistance, all of which are highly desirable in a firearm finish, especially with regards to the bolt movement.
The Mausingfield is a Remington 700 footprint action, which was the key requirement for any custom action I would build on for this project.
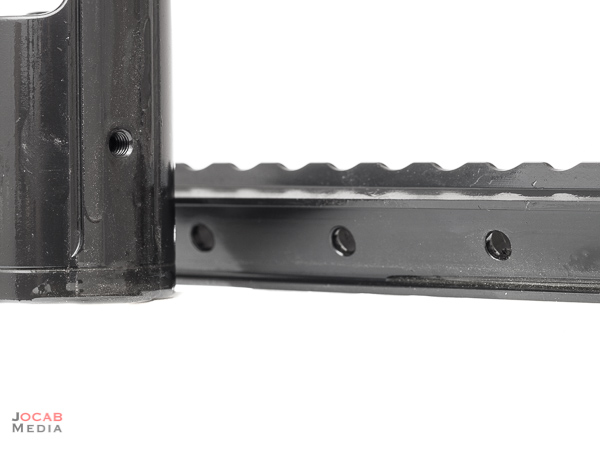
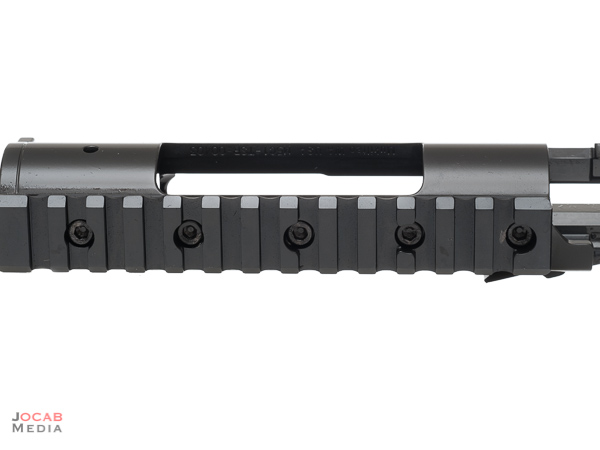
The scope base/rail is actually not integral (machined into the action). The reason for this design is to allow the user to change out bases if desired. I opted for a 20MOA base, but bases are also available in 0MOA and 30MOA.
The mating of the scope base with the top of the Mausingfield receiver has very tight tolerances. The scope base/rail is actually keyed to the receiver with tapered walls on the receiver to mate to the tapered slot in the rail.
To further emphasize the fit of the keyed rail, you can press fit the rail to the receiver without using the screws, hold the receiver by the rail only, and the receiver will stay mated to the scope base/rail.
Five 8-36 x 1/4″ screws secure the rail to the receiver.
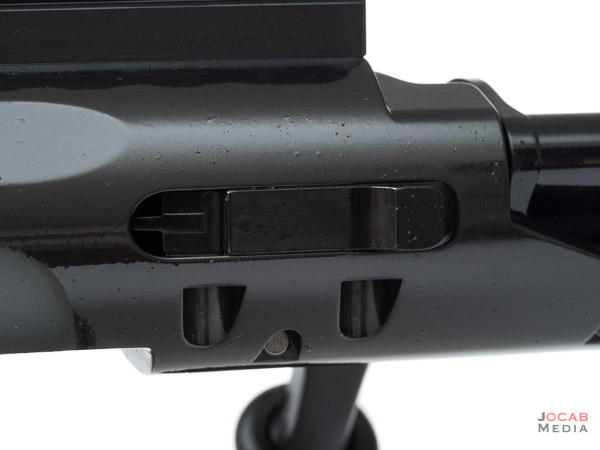
Most factory Remington 700 owners are familiar with the trigger acting as the bolt stop. The Mausingfield adopts the more robust receiver based bolt stop design which is common with most custom bolt action rifles.
The Mausingfield does employ an integrated recoil lug that is also a common feature with custom actions.
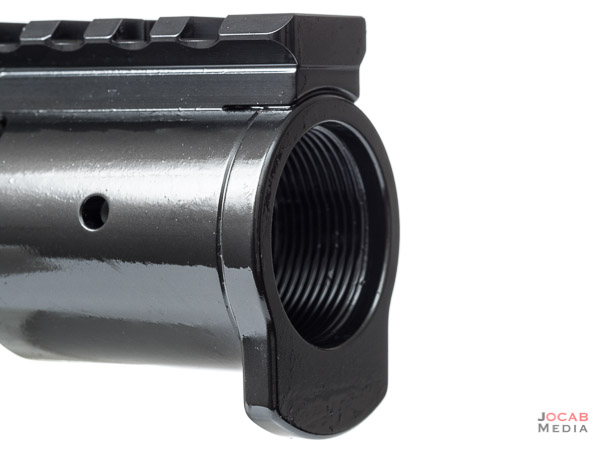
One significant difference between the Mausingfield and other custom actions is that the receiver barrel threads are 1-1/16” x 20 UN 2B, which is the same as Savage small shank receivers. This means the Mausingfield can be used with barrels that are pre-chambered and pre-threaded for Savage small shank actions with a barrel nut if the user wishes to eliminate the gunsmithing work to have a barrel shouldered to the receiver.
But where the Mausingfield truly separates itself from the Remington 700 and other custom actions is with the extractor and ejector.
The name Mausingfield is pulled from Mauser and Springfield.
The Mausingfield uses a Mauser-style (Mauser 98, or M98) extractor, making the Mausingfield a controlled round feed (CRF) bolt action rifle, whereas other custom actions based on the Remington 700 footprint either retain the OEM-style extractor or adapt a M16 style or Sako extractor.
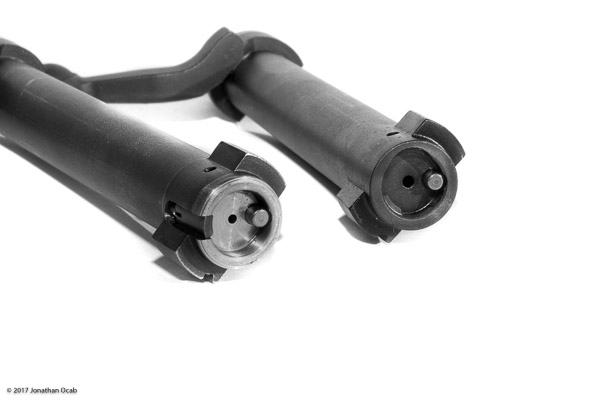
For those who have never operated a CRF bolt action, the extractor claw immediately grabs the head of the cartridge from the magazine as the bolt is operated forward and is in full control of the round as it is chambered and unchambered. The M98 extractor design is quite robust, rugged, and reliable.
It is worthwhile to note that the current Mausingfields have a .062″ diameter firing pin with a .064″ firing pin hole, which should work fine with small rifle primers.
As far as the Springfield part of the Mausingfield name, this comes from the fact that the Mausingfield employes a Springfield-style ejector. For those who have not used a Springfield M1903 series rifle, the ejector is actually at the rear of the receiver unlike other rifles where the ejector is actually a spring tensioned plunger on the bolt face.
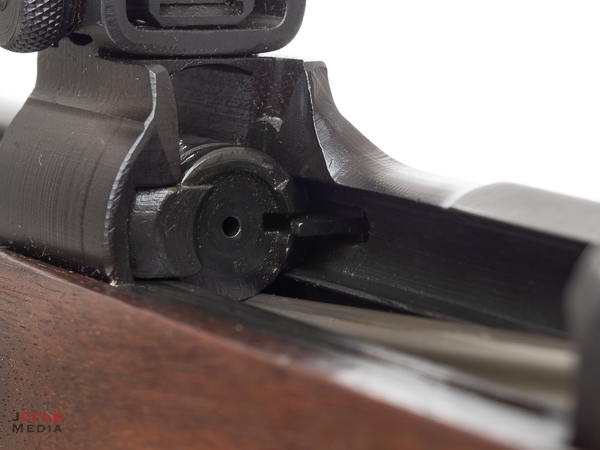
A Springfield-style extractor does a few things. One, it keeps the ejector away from the breech, so if a failure such as a ruptured case during firing took place, this would not damage ejector parts in the bolt face. It also allows for the operator to control the intensity of the ejection.
There is also less maintenance cleaning of the ejector like with plunger style ejectors in the bolt face, where carbon fouling can easily build and minimize the ejector effectiveness.
There are several other features of the American Rifle Company Mausingfield that I may be skipping, but you can read more about the Mausingfield on the ARC website product page.
So as it stands, my Precision Rifle Project for 2017 based on the American Rifle Company Mausingfield action consists of the following build out:
- American Rifle Company Mausingfield short action, .474″ bolt face, with a 20MOA scope base
- Bartlein stainless steel 5R 29″ blank with 6mm (.237″ bore), 1:7.5″ twist, and Remington Varmint contour (to be chambered in 6mm Creedmoor)
- Masterpiece Arms BA Competition Chassis in Flat Dark Earth
- Huber Concepts 2-stage (1-lb, 1-lb) trigger
- Area 419 HELLFIRE self-timing muzzle brake
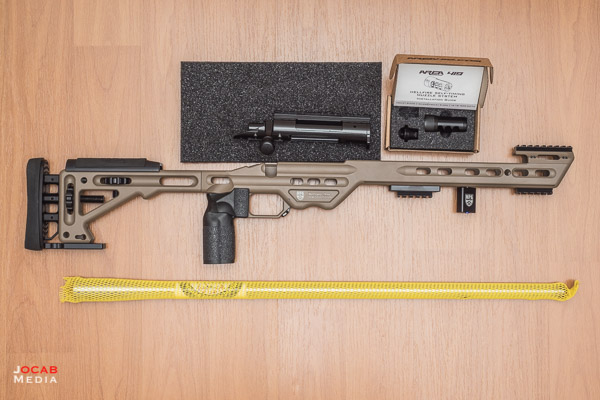
The last parts to complete the platform are the scope and rings/mount, which are currently being selected and will be ordered in the very near future.
But the next steps are for me to get the Mausingfield, Bartlein blank, and HELLFIRE brake+adapter to the local gunsmith I have chosen to do the barrel work.
So stay tuned for Part 2 of the American Rifle Company Mausingfield project, which probably will not get published for at least a month, due to the backlog of work my chosen gunsmith has. When I finally get the barreled action back from the gunsmith, I should be able to reveal the fully assembled rifle with optics in Part 2.
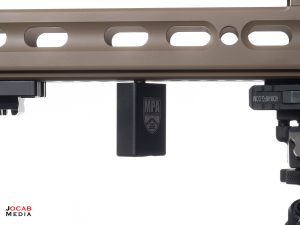
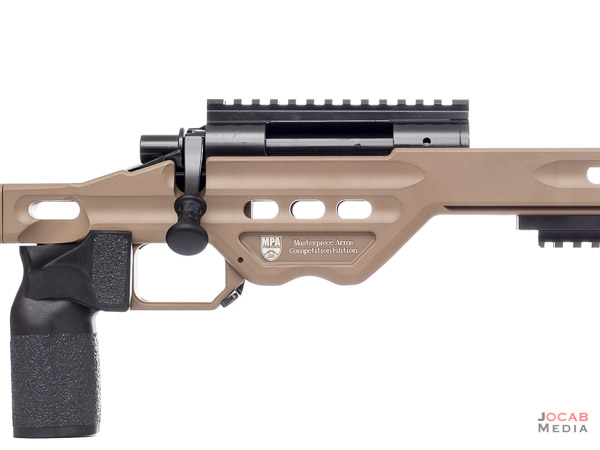
Until then, here is an image hinting at what the ARC Mausingfield will look like in the MPA BA Competition Chassis.

Larry E
Good write up!
Remington 700 Shooter
This project looks very interesting! Any news about your rifle?
ocabj
https://www.ocabj.net/precision-rifle-project-series-american-rifle-company-mausingfield-part-4/
Really Right Stuff SOAR Harris Bipod Adapter Review – ocabj.net
[…] 2017 precision rifle project utilizes the Masterpiece Arms BA Competition chassis, which comes with an Arca-Swiss dovetail […]
Precision Rifle Project Series: American Rifle Company Mausingfield Part 5 – ocabj.net
[…] is the action, and the American Rifle Company Mausingfield is definitely an interesting action. As I mentioned in a prior article, I chose the Mausingfield because of what I saw at SHOT Show 2017, and also on the impetus that I […]